If your subscription includes the My Account feature, you can access it only with the "main" user account.
Use the My Account page to purchase vehicle connections (that is, add subscriptions for new vehicles to your account or remove and swap subscriptions from vehicles) and hardware, track your hardware and vehicle connection orders, and manage your company's subscription billing, and purchase asset tracking devices; all from a simple and intuitive user interface.
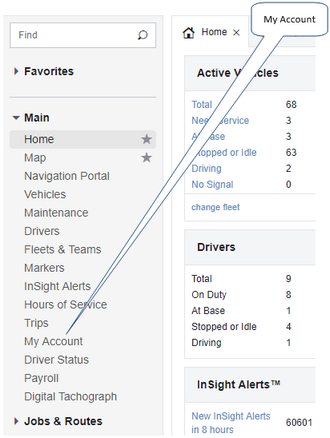
From the Main section of the navigation bar choose My Account to open the My Account screen.
Click the My Account link and the account management console page opens, defaulting to the Overview page. This page provides quick links to connect new vehicles, install or replace hardware in vehicles, view the total number of hardware or vehicle connection orders you have previously initiated (both open orders that are currently underway and closed historical orders), purchase tracking devices, and access your billing and payment panel. Here you can pay outstanding invoice balances using a credit card, if you are not a bill-by-invoice customer. The main areas of this screen are as follows:
1:
The five main menu links along the top of the screen are used to switch between the available views:
o
The Overview screen includes four sections: My Team detailing the email and telephone contact details for your Verizon Connect sales and support team; Vehicles & Services with links to purchase new vehicle connections, swap hardware to new vehicles, or retire (shelve) hardware that you no longer want to use; the Orders section includes links to view all pending and historical orders, and all open orders; and the Billing section includes a link to open the billing interface where credit card payments can be made for outstanding invoices.
o
The Connect Vehicles screen opens the five step Connect Vehicles Wizard for adding either standard vehicles, or AEMP assets and vehicles. This page is also used to request new Cat-M1 asset tracking devices. When adding a vehicle, you are asked to provide either your AEMP credentials or the unique 17-character VIN details of each vehicle you want to add to your account; and, depending on your account configuration, provide payment via credit card. Once you have added a vehicle or vehicles from the wizard, they are shown as open "Connect Vehicles" orders in the Orders screen, with a status of "In-progress". See Adding Vehicles to Your Account.
o
The Manage Your Fleet screens include options for moving your vehicle diagnostic and tracking hardware from one vehicle to another, replacing hardware with different or newer hardware (or moving from aftermarket hardware to supported OEM vehicles with embedded hardware, or vice versa), and for temporarily or permanently retiring hardware and OEM vehicles that you no longer want to use. Once retired, this shelved hardware can be stored then reactivated (un-retired) again in the future when you need it again on another vehicle. See Installing or Replacing Hardware, Swapping Subscriptions or Retiring Hardware, and Unretiring Vehicles.
o
The Orders screen lists all "Connect Vehicles" and "Device Shipment" orders that you have placed or initiated from the wizard or via a sales representative. Click a row in the table to view a summary of that order, including when it was lodged, when the case was last updated, the shipping method for hardware or payment type for vehicle connections, the shipping address, serial number and VIN details, order status and vehicle name. See Viewing Hardware and Connection Orders.
o
The Billing screen opens a payment platform from which direct credit card payments can be made for your outstanding invoices. See Managing Your Account Billing.
o
The AEMP screen is used to display all of the AEMP accounts that you have added that are associated with your platform account. This screen can also be used to update the AEMP account credentials used by My Account if they are changed at any time (the credentials shown here must match the credentials supplied by your OEM). See Adding AEMP Assets to Your Account.
2:
The Quick Start buttons replicate the functionality of the menu links at the top of the page, navigating directly to the Connect Vehicles Wizard, the Orders screen, and the Billing screen.
3:
The Overview Sections include quick links to the Connect Vehicles Wizard, the fleet management screens, to view all previous orders, or all open orders, and to view the Billing screen.

 Previous
 Next
Next Expand/Collapse
 Print
Print Share Page
 Training
 Knowledge
