Setting KPI Values
Key Performance Indicators (KPIs) are readings from vehicles that you monitor in the dashboard. The dashboard monitors when vehicles in a fleet fail to meet target values on these indicators.
How to Configure the KPI Targets for a Node
To specify which KPI targets are used when the dashboard displays information about the fleet associated with a node in the hierarchy:
| 1. | From the Tasks section in the navigation bar choose Hierarchy. The Hierarchy screen opens. |
| 2. | Select the node in the hierarchy. |
| 3. | Click Configure  from the Hierarchy screen toolbar. from the Hierarchy screen toolbar. |
| 4. | For each KPI in the Configuration dialog box, specify if the node should inherit the configuration from the parent node, or if not, specify which target should be used for that KPI. |
| 5. | Click Save to save the configuration for the node. |
How to Configure the KPI Targets for a Vehicle
To specify which KPI targets should be applied to a vehicle:
| 1. | From the Tasks section in the navigation bar choose Hierarchy. The Hierarchy screen opens. |
| 2. | Select the node that the vehicle is assigned to. |
| 3. | Select the Vehicles tab on the Details panel. |
| 4. | Click More Actions  . . |
| 5. | Select "Configure" from the drop-down menu.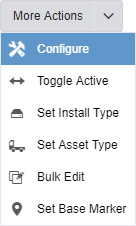 |
| 6. | For each KPI in the Configuration dialog box, specify if the vehicles should inherit the configuration from the node to which they are assigned, or if not, specify a new target value for the KPI. |
| 7. | Click Save to save the configuration for the vehicle. |
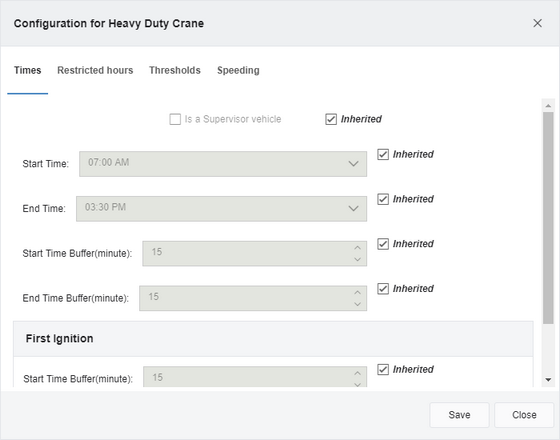
The Configuration dialog box might vary, depending on which KPIs you have displayed on your dashboard screen. It displays KPI targets using multiple tabs, as described below. You only see the pages that are relevant to your KPIs. Times
The Times tab lets you set targets for when the vehicle starts and ends each day. It might also let you indicate if the vehicles this setting applies to belong to a supervisor. For each setting, you can enter an override value, or select the Inherited check box to accept the value inherited from the parent node in the hierarchy. The following table lists the targets you can set using the Times tab:
|
||||||||||||||||
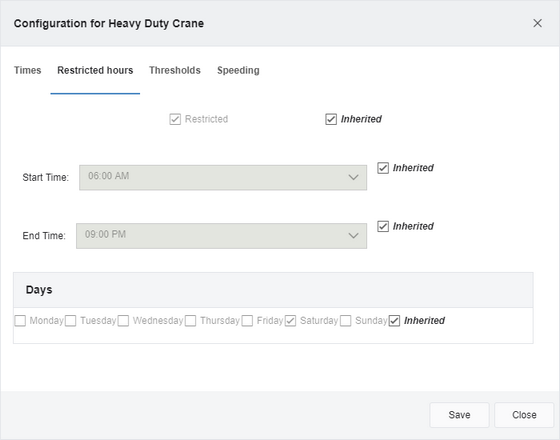
Restricted Hours
The Restricted Hours tab lets you specify when vehicles may or may not be used. For each setting, you can enter an override value, or select the Inherited check box to accept the value inherited from the parent node in the hierarchy. The following table lists the targets you can set using the Restricted Hours tab:
|
||||||||||||||||
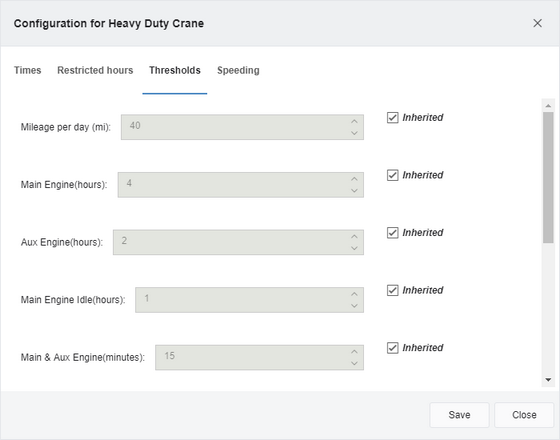
Thresholds
The Thresholds tab lets you specify target values for individual KPIs. For each setting, you can enter an override value, or select the Inherited check box to accept the value inherited from the parent node in the hierarchy. The possible target values depend on the KPIs you have on your dashboard, and the units for each KPI are given in the label for each item. |
||||||||||||||||
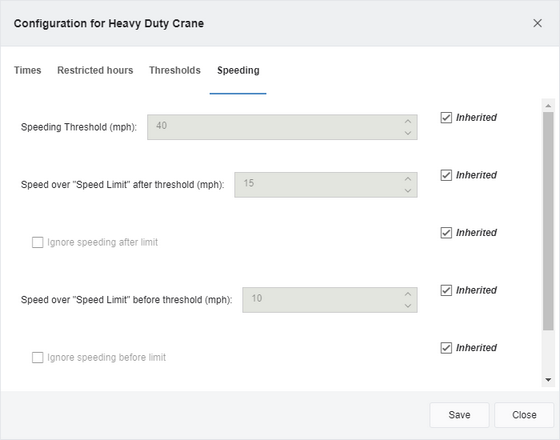
Speeding
The Speeding tab lets you specify how much a vehicle can exceed the posted speed limit before the dashboard reports a speeding event. It can make sense to allow a vehicle a bit more "grace" for high speed limits than when the speed limit is very low (for example, going 10 MPH over a speed limit of 60 is very different than going 10 MPH over a speed limit of 15). Because of this, you can set two different amounts by which a vehicle can exceed the speed limit: one for high speeds and one for low speeds. Note that for the dashboard to report a speeding event, the GPS quality for points from the vehicle must be good or excellent. For each setting, you can enter an override value, or select the Inherited check box to accept the value inherited from the parent node in the hierarchy. The following table lists the targets you can set using the Speeding tab:
|
 Previous
 Next
Next Expand/Collapse
 Print
Print Share Page
 Training
 Knowledge